
China Connection
TB Fanatic
Um, in part of the YouTube below he shows Wicking Beds and how they are constructed and how they can benefit you and your garden in times of drought. Now take this idea and use it on the plastic boxes in the other thread.

...................................................................................................................
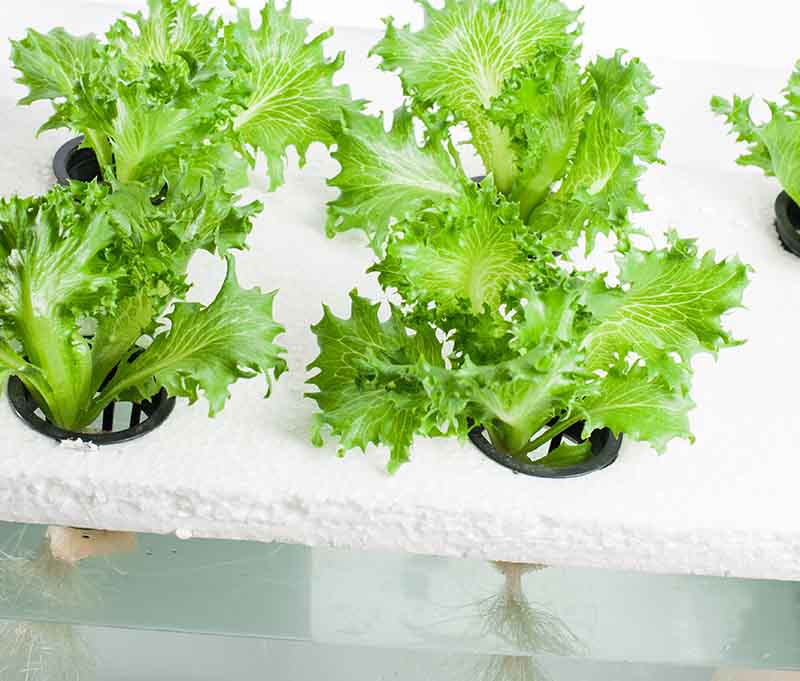
Profitable Backyard Farm uses Hydroponics to Grow Food Fast
About an hour long
View: https://www.youtube.com/watch?v=Rs64dF5-TPI
Learn Organic Gardening at GrowingYour Greens
John from http://www.growingyourgreens.com/ goes on a field trip to Whisper Backyard Farm in Los Angeles to share with you how they are growing food fast using Hydroponics and Wicking Beds aka SIP Beds or Self Irrigated Planter Boxes to save water and run-off. In this episode, you will learn more about how you can make farming in a backyard profitable on a small scale. You will get a full tour of this backyard farm that operates in Los Angeles as a urban farm. First, you will see a better way to use your front yard - to grow a permaculture style food forest. You will learn the different kinds of trees that are planted in the front yard. You will learn how to pick a ripe finger lime and see the finger lime caviar that grows inside. You will learn about SIP Beds aka Self-Irrigated Planters aka Wicking Beds and how they are constructed and how they can benefit you and your garden in times of drought.
...................................................................................................................
Profitable Backyard Farm uses Hydroponics to Grow Food Fast
About an hour long
Learn Organic Gardening at GrowingYour Greens
John from http://www.growingyourgreens.com/ goes on a field trip to Whisper Backyard Farm in Los Angeles to share with you how they are growing food fast using Hydroponics and Wicking Beds aka SIP Beds or Self Irrigated Planter Boxes to save water and run-off. In this episode, you will learn more about how you can make farming in a backyard profitable on a small scale. You will get a full tour of this backyard farm that operates in Los Angeles as a urban farm. First, you will see a better way to use your front yard - to grow a permaculture style food forest. You will learn the different kinds of trees that are planted in the front yard. You will learn how to pick a ripe finger lime and see the finger lime caviar that grows inside. You will learn about SIP Beds aka Self-Irrigated Planters aka Wicking Beds and how they are constructed and how they can benefit you and your garden in times of drought.
Last edited:


")
